
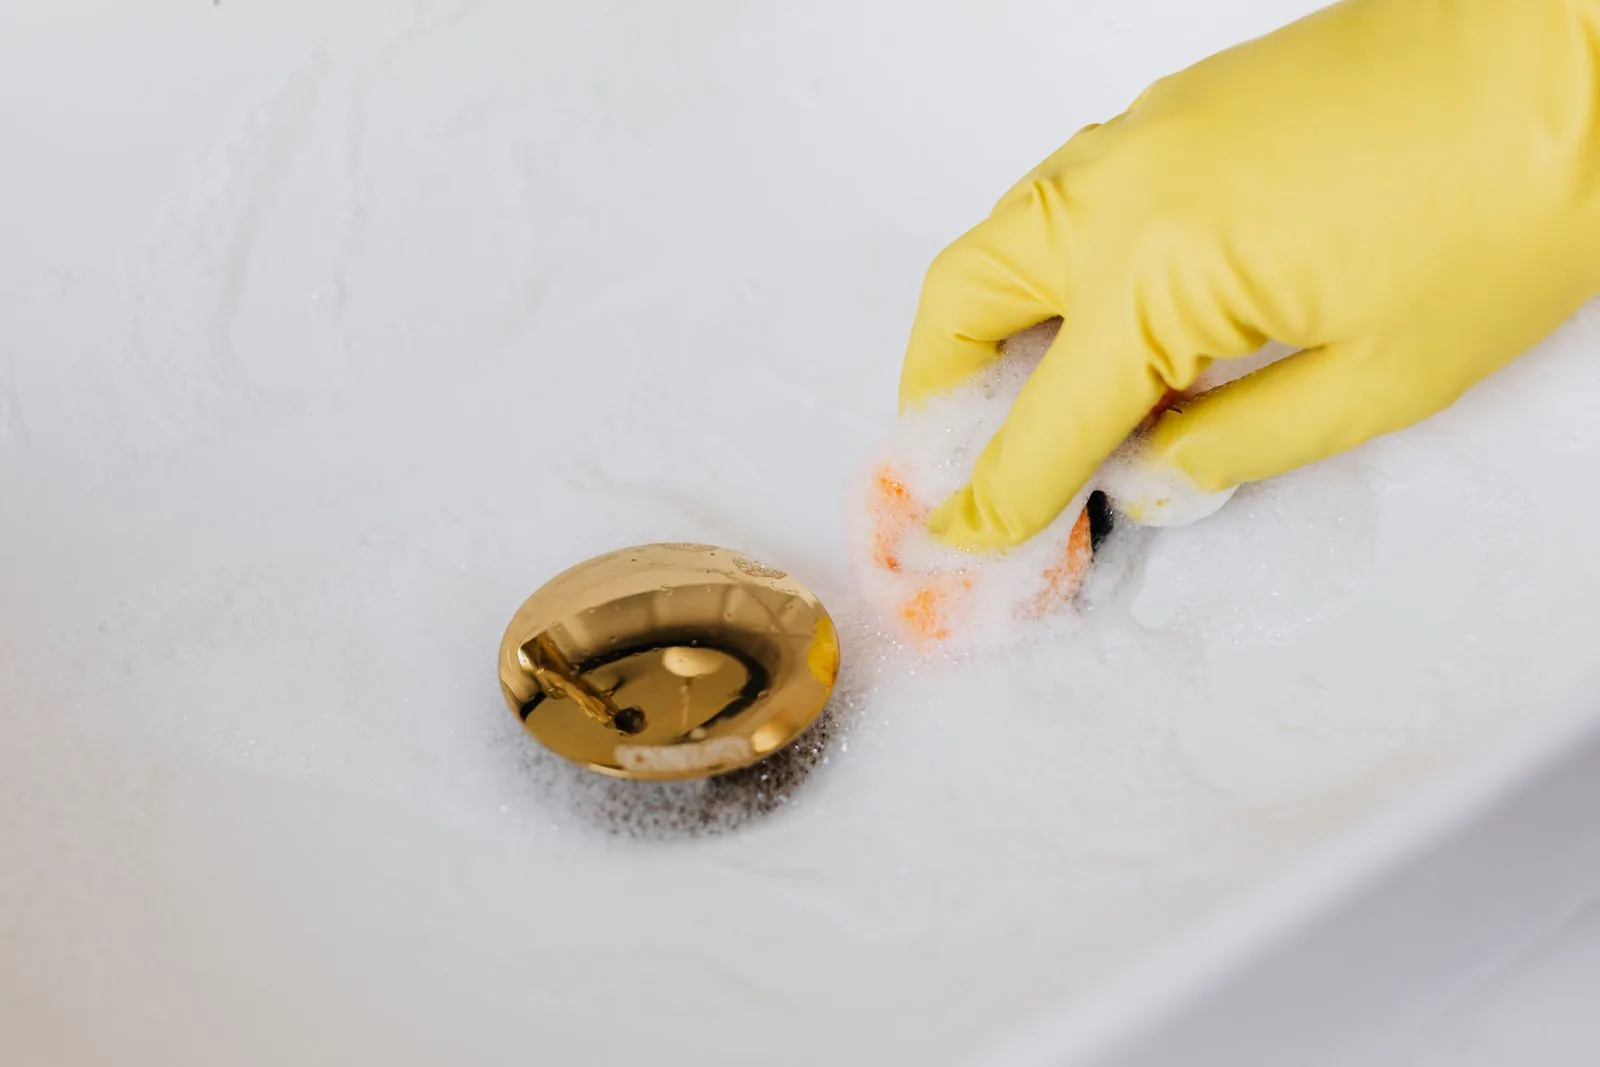
How to Clean the Drain in a Bathroom Sink
To clean a bathroom sink drain, lift out the pop-up stopper and scrub the hair and soap residue off it, hook out what is caught in the short pipe below with a barbed plastic drain tool, flush the overflow slot with hot tap water, then unscrew the curved trap under the basin into a bucket and wash it out. Reassemble, run the tap, and check every joint for drips. The whole job takes about half an hour and needs no chemicals at all.
That sequence matters more than any single part of it. People reach for a bottle first because the plughole is the only part they can see, but the material causing the trouble is almost never at the plughole. It is wrapped around the underside of the stopper and packed into the first few inches of pipe, which is exactly where a bottle of anything is least likely to reach and your fingers are most likely to.
Why Bathroom Sink Drains Clog in the First Place
A bathroom basin produces a very particular kind of mess, and it is worth understanding because it tells you exactly where to look. Kitchens deal in grease. Bathrooms deal in hair, soap and toothpaste, and those three combine into something far more stubborn than any of them alone.
Pop-up stopper Usual cause
The plug you lift with the rod behind the tap. Hair catches on its underside and on the pivot rod that works it, and this one part is the cause of most slow basins.
Drain body and flange Narrowing
The metal collar sealed into the basin. Soap residue builds on its inner wall and narrows the opening long before anything stops outright.
Overflow channel Smells
The small slot near the rim, and the concealed passage behind it that rejoins the drain body. It is wet, dark and almost never flushed, which makes it the single commonest source of a bathroom smell.
Tailpiece Film
The short straight pipe dropping from the basin to the trap. A film of soap and skin cells coats the inside of it and gives hair something to anchor to.
P-trap and trap arm Lowest point
The U-bend that holds a plug of water to keep sewer gas out of the room, and the pipe running from it into the wall. The U is the lowest point, so anything heavy that gets past the stopper settles there.
Hair and the pivot rod
The metal rod that lifts the stopper runs straight through the drain body, and every hair that goes down snags on it. Over a year or two that becomes a felted mat that water has to squeeze past. Pulling the stopper out and clearing that rod solves more slow basins than every other step here put together.
Soap scum, and why it clings
Bar soap reacts with dissolved minerals in the water to leave a greyish curd that clings to pipe walls. How much of it you get depends on how much mineral your water carries, and that varies by system rather than by house. Cleveland Utilities publishes an annual water quality report if you want the measured figures for your own address.
Toothpaste, grit and shaving
Toothpaste carries mild abrasives that do not dissolve, and they settle in the bottom of the U-bend along with the sand that comes off hands after yard work. On its own that sediment is harmless. Combined with hair it gives the mat something to build on.
What You Need
None of this is specialist. The only item worth a trip to the hardware shop is the barbed plastic drain tool, which costs very little and does a job nothing else does as well. A straightened coat hanger is the usual substitute and it is a poor one, because the cut end scratches the finish inside the drain body and gives future residue something extra to cling to.
Tools Five items
- A bucket that fits inside the cabinet
- Barbed plastic drain tool
- Old toothbrush and a bottle brush
- Slip-joint pliers, only if the nuts are tight
- Torch, and a towel for the cabinet floor
Supplies Nothing caustic
- Rubber gloves
- Washing-up liquid and hot tap water
- Paper towel, and a carrier bag for the mess
- An enzyme drain maintainer, for afterwards only
- A spare trap washer, if yours looks perished
Cleaning a Bathroom Sink Drain, Step by Step
Work down the drain in order. Each step opens up more of the pipe than the one before it, and a great many basins come right after step four without the trap ever being touched.
-
1. Clear the decks and catch the water Start here
Take everything off the vanity top and out of the cabinet. Lay an old towel across the cabinet floor and stand the bucket under the trap. There is always water in that U-bend, usually a cupful or two, and it will come out the moment the first nut is loosened.
While you are down there, find the two small shut-off valves on the supply pipes behind the trap. You do not need to close them for this job, but you should know where they are before you start, and it is worth checking they turn. A valve that has seized open is the sort of thing you want to discover on a quiet Saturday rather than in the middle of an actual pipe emergency.
-
2. Get the stopper out Four kinds
This is where guides go wrong, because they assume one kind of stopper and there are four in common use. Look at your basin and work out which you have before pulling at anything.
-
Rod-operated pop-up
There is a lift rod behind the tap. Try simply lifting the stopper out first, because many of them are not attached at all. If it will not come, go under the basin: a horizontal pivot rod enters the back of the drain body and is held by a nut. Put the bucket underneath, unscrew that nut by hand, withdraw the rod an inch, and the stopper lifts straight out. Do not lose the small washer inside the nut.
-
Push-button or click-clack
No rod behind the tap, and the stopper pushes down to latch. Press it to the open position, then grip the top and turn anticlockwise. Most unscrew in a few turns. Some simply pull straight up with a firm, even lift.
-
Lift-and-turn
A small knob sits on top of the stopper. Hold the body of the stopper still, turn the knob anticlockwise to free it, then lift the stopper out. If the knob spins without loosening, there is a tiny set screw underneath it to slacken first.
-
One-piece strainer, with no moving part
A perforated plate, common on modern vessel basins. Nothing comes out. Clean through the holes with a brush and go straight to the trap in step six, because the tailpiece is the only part you can reach from above.
-
3. Clean the stopper and the seat it sits in Most clogs
Most people are surprised by what comes out. The underside of a pop-up stopper is usually wrapped in a grey-brown collar of hair bound together with soap, and it peels off in one piece if you catch an edge of it. Put it straight in the bag rather than the basin, where it will only go back down.
Wash the stopper in hot soapy water, work the toothbrush into the slots and around the rubber seal, and look at that seal while it is in your hand. A perished or flattened seal is why a basin will not hold water, and a replacement costs very little. Then reach into the drain body with the brush and scrub the inner wall and the pivot rod. That rod is the snag point; leaving it furred defeats the whole exercise.
-
4. Fish the tailpiece Barbed tool
Feed the barbed plastic tool down the opening until it stops, which will be where the tailpiece meets the top of the U-bend. Twist it a half turn, then draw it out slowly and steadily. The barbs catch the mat and bring it up. Wipe the tool on the paper towel and repeat until it comes back clean, which often takes four or five passes.
Do not force it past the point where it stops. You are not trying to reach the wall; you are clearing the first stretch of pipe, and everything deeper than that is better reached by opening the trap in step six. If the tool will not go down more than an inch or two, that is itself information: something firm is sitting very close to the top, and it will come out with the trap.
-
5. Clean the overflow channel Everyone skips this
Look for the small slot near the top of the basin. Behind it runs a concealed passage that curves down and rejoins the drain body below the flange. Its job is to carry water away if a tap is left running, which means it is dry most of the time, and anything that gets in there stays.
That passage is the reason a bathroom can smell faintly sour while the basin itself looks spotless and drains perfectly well. Work a bottle brush into the slot and move it in and out several times; it will come out dark, so keep going until it does not. Then put the stopper back in, fill the basin to just above the slot and pull the stopper. The whole basinful goes through the overflow passage under pressure, which is the only real flush it ever gets.
If a smell persists afterwards, an enzyme maintainer poured into the slot last thing at night will work on the film overnight. Give it until morning before running the tap.
-
6. Open and wash the P-trap If needed
Only do this if steps one to five did not sort it, or if you are cleaning on a schedule rather than chasing a problem. Put the bucket directly under the U-bend, not beside it. Loosen both slip nuts by hand, anticlockwise; plastic nuts rarely need pliers, and if yours do, pad the jaws so they do not bite.
Slide both nuts clear, then lower the U-bend keeping it upright until it is over the bucket, and tip it out there. Wash it through with the bottle brush and hot soapy water until you can see daylight through it, and check the washers while you have them in your hand. A flattened or cracked one goes back together looking fine and weeps a week later.
-
7. Put it back and prove it Always
Offer the U-bend back up with the washers the right way round, tapered edge toward the joint. Hand-tighten both nuts, then give each no more than a quarter turn with pliers. Overtightening splits plastic nuts, and a split one does not announce itself until later. Refit the stopper and the pivot rod in the hole your photograph shows.
Run the tap hard for a good while with dry paper towel laid under each joint, because paper shows a slow weep that a glance misses. Then fill the basin and let it all go at once: a full basin loads the drain far harder than a running tap and is the real test. Check again the next morning — a joint that is going to weep usually does so within a day, and a cabinet floor that stays wet quietly will swell and delaminate long before anybody notices the water that caused it.

Baking Soda, Vinegar and Boiling Water
These three come up in every discussion of drains and they are not all equal. Here is what each one genuinely does, with no attempt to talk you out of something that works.
Baking soda and vinegar Limited
The fizz is carbon dioxide from an acid meeting a base, and the two neutralise each other within about a minute. It will lift light soap film from an open pipe and it deodorises, which is a real if modest benefit. What it will not do is dissolve a mat of hair, and in a basin that is already holding water the reaction happens harmlessly on the surface and never reaches the obstruction. Use it as a finishing rinse, not as a rescue.
Hot water, but not boiling Care
Hot water from the tap is genuinely useful and softens soap residue well. Water straight off the stove is a different matter: PVC waste pipe is commonly rated by its manufacturers to a maximum service temperature of 140°F, and water at a rolling boil is well past that. One kettle poured down a running drain cools fast and rarely does harm, but repeated pourings into a basin standing full of water keep the plastic and the joint compound hot for a long time. Hot tap water does the same job with none of the argument.
Enzyme maintainers Upkeep
These use bacteria and enzymes to digest the organic film on pipe walls. They are slow, they need hours of contact with no water running, and they will not clear anything that has already stopped. For keeping a cleaned drain clean, though, they are the best of the bottled options and they are not caustic, so they will not harm your pipes, your septic system or whoever opens the trap next.
Never mix drain or cleaning products
Do not put a second product down a drain that already has one in it, and do not combine bleach with vinegar, with an acidic cleaner, or with anything containing ammonia. The US Centers for Disease Control and Prevention investigated a series of incidents in which bleach was mixed with an acidic cleaner, and reported that combining the two releases chlorine gas. Its report also makes a point that is easy to miss: chlorine has no reliable warning smell at low concentrations, and the CDC states flatly that the absence of odor is not a reliable indicator of safety.
Bleach mixed with ammonia produces chloramine gases instead, with the same practical result. Products do not always advertise what they contain, so the safe rule is one product at a time, with a thorough rinse in between and the window open. If you do mix something by accident, leave the room, get into fresh air, and call the Poison Control helpline on 1-800-222-1222. If anyone is struggling to breathe, call 911 first.
Mistakes, and the Rules That Matter
Cleaning a basin drain is about as low-risk as plumbing gets, with one genuine exception. Everything dangerous about this job involves a bottle.
Never work a drain that is full of chemical Hazard
If a caustic opener has gone down a basin that is still holding water, the product has nowhere to go and is sitting there at full strength. Plunging it, snaking it or opening the trap will splash it, so treat the standing water as caustic. Safety data sheets for these products describe severe skin burns and serious eye damage and call for goggles and chemical-resistant gloves. Let a plumber know on the phone that a product has been used, so they arrive expecting it.
A plunger needs the overflow covered Technique
Plunging a bathroom basin without holding a wet cloth firmly over the overflow slot accomplishes very little, because the pressure you make simply escapes up that passage and back into the bowl. It is the commonest reason people conclude a stoppage is worse than it is. Cover the slot, and use a small cup plunger rather than a flanged toilet one.
Do not overtighten the slip nuts Technique
Plastic slip nuts seal on a tapered washer, not on force. Hand tight plus a quarter turn is right. Cranking them splits the nut or distorts the washer, and the result is a joint that looks perfect and weeps slowly into the cabinet for a month.
Leave the wire coat hanger alone Technique
A cut wire end gouges the chrome inside the drain body, and every scratch is somewhere new for residue to anchor. It also pushes the mat down ahead of it rather than pulling it out, which turns a stopper problem into a trap problem. The barbed plastic tool exists for this and costs almost nothing.
When It Is No Longer a Basin Problem
Everything above deals with the first few feet of pipe, and that is where the great majority of slow bathroom basins live. There is a short list of signs that say the trouble is somewhere else entirely, and recognising any of them is worth more than another hour with a brush.
More than one fixture is slow Call
If the basin, the bath and the toilet are all sluggish, nothing in this article will help. A single pipe serves them all and the problem is in that shared run or further out. That is drain cleaning work with a machine, not a job for a brush.
Water comes back up somewhere else Urgent
Running the basin and seeing the level rise in the shower tray, or the toilet bubble, means waste is backing up out of a shared pipe. Stop using water in that bathroom and call. If it is surfacing at the lowest opening in the house, treat it as urgent and read about what goes wrong with a sewer line.
Gurgling, or a smell that survives a clean Venting
A drain that gurgles is pulling air from somewhere it should not, and the usual reason is a vent that is obstructed. The same fault siphons the water seal out of the trap, which is what lets sewer gas into the room. No amount of cleaning changes that, and it is worth a proper look.
Anything wet in the cabinet Leak
A damp patch you cannot trace to a joint, a soft cabinet floor, or a musty smell with no obvious drip is worth taking seriously rather than watching. Finding water whose source you cannot point at is its own kind of job.
The same basin stops every few months Structural
A basin that is cleaned properly should stay good for a long time. One that does not usually has something structural behind it: a tailpiece corroded rough inside, a trap arm that no longer falls toward the wall, or a fitting put in at the wrong angle during a remodel.

How to Keep a Bathroom Sink Drain Clean
A basin that has been properly cleaned stays good for a long time with very little effort. The aim is simply to stop hair and soap building a foundation for each other again.
Run it hot Weekly
Fill the basin with hot tap water and let it all go at once. A full basin scours far better than a trickle, and it takes a few seconds.
Lift the stopper Monthly
Take it out, wipe it, put it back. Two minutes once a month and the mat never gets started in the first place.
Flush the overflow Quarterly
Brush the slot, then fill above it and release. This is the one maintenance task nobody does and it is the one that prevents smells.
Open the trap Yearly
Once a year, or whenever the basin starts to slow. It also gives you a look at washers and pipe walls before either becomes a problem.
Frequently Asked Questions
How often should I clean my bathroom sink drain?
Lift and wipe the stopper about once a month, flush the overflow slot every three months or so, and open the trap once a year. That cadence suits a normal family bathroom and it is set by habits rather than by the calendar: a basin used by two people with long hair will need the stopper lifting more often than one in a guest bathroom nobody uses. The useful signal is the speed the water goes away. A healthy basin empties with a clear swirl and no gurgle. The first time you notice it hesitating, that is the month to lift the stopper, and dealing with it then is a two-minute job rather than a half-hour one. Waiting until it stops altogether is what turns a wipe into a trap removal.
Does baking soda and vinegar really clean a bathroom sink drain?
Partly, and it is worth being precise about which part. The fizzing is carbon dioxide released as the acid in vinegar meets the base in baking soda, and the two cancel each other out within roughly a minute. In that time the foam can loosen a light film of soap on the pipe wall and it does genuinely deal with stale smells, so as a monthly freshen-up it earns its place. What it cannot do is dissolve hair, because hair is protein and neither ingredient touches it. It is also close to useless in a basin that is already holding water, since the reaction then happens up at the surface and never reaches the obstruction at all. Treat it as a finishing rinse after the stopper and the trap have been cleaned by hand, rather than as the thing that does the cleaning.
Why does my bathroom sink smell even though it drains fine?
The usual culprit is the overflow channel, the concealed passage behind the little slot near the rim. It stays damp, it is dark, and it only ever carries water when somebody leaves a tap running, so the soap and skin cells that collect in it are never flushed away. Bacteria living in that film are what you can smell, and because the passage is nowhere near the plughole the basin itself drains perfectly well throughout. Brushing the slot out and then flushing it by filling the basin above the slot and releasing it fixes most cases. The second possibility is a trap that has dried out, which happens in a bathroom nobody uses, and running the tap for a minute refills the seal. If the smell survives both of those and is more sewage than musty, stop treating it as a cleaning problem: a gurgling drain alongside the smell suggests the vent is obstructed, and that needs looking at properly.
Can I pour boiling water down a bathroom sink drain?
Hot water from the tap, yes, and it is one of the more useful things you can do. Water straight off the stove is a different question. PVC waste pipe is commonly rated by its manufacturers to a maximum service temperature of 140 degrees Fahrenheit, and water at a rolling boil is a long way above that. A single kettle poured into a drain that is flowing freely cools very quickly as it goes and rarely causes any harm, which is why so many people do it without consequence. The risk is in the other case: pouring repeatedly into a basin that is standing full, where the hot water sits against the plastic and the joint compound instead of running past it, and where nothing is moving to carry the heat away. Since hot tap water softens soap residue perfectly well, there is very little to gain by taking the chance. If the basin has a chromed brass trap rather than plastic the heat matters less, but the reason to use the tap stays the same.
What should I never put down a bathroom sink drain?
Dental floss and cotton buds head the list, because neither breaks down and both give hair a frame to weave around in the trap. Then wet wipes of every description regardless of what the packet claims, paint and plaster rinsings which set hard in the U-bend, cat litter, coffee grounds, and cooking fat tipped into the bathroom because the kitchen sink was occupied. The other thing to keep out is chemistry you do not need. Two different drain products, or a drain product and a household cleaner, must never go down the same pipe: the US Centers for Disease Control and Prevention has reported on incidents where bleach mixed with an acidic cleaner released chlorine gas, and it warns that you cannot rely on smell to tell you the air is safe. One product at a time, rinsed through, with the window open, and the national Poison Control helpline is 1-800-222-1222 if something does get mixed.
Tried It and the Basin Is Still Slow?
Then it is almost certainly not the basin, and that is genuinely useful to know. One call reaches a licensed plumber at any hour of any day, and we would far rather talk you through another ten minutes on the phone than sell you a visit you do not need.
Call (423) 279-5228 Send us the details